
How to Style Vintage Art Glass Paperweights on Office Desks
Last Updated: November 1, 2026
Quick Summary
Styling paperweights on office desks works best with one anchor piece plus two supporting objects arranged in a triangle, not a row. Keep the group in one zone, below your eye line and outside the sightline to your monitor, and cap the desk at three decorative objects total.
- Clear and measure the desk first, then choose one anchor and two supporting objects.
- A desk under 24 inches deep needs small pieces only.
- The anchor should be roughly one-third the height of the tallest nearby object.
- On small desks under 40 inches wide, use one paperweight at the back corner opposite your mouse hand.
- Place weights toward the back edge on standing desks and test the full height range.
Table of Contents
- Why Vintage Art Glass Paperweights Belong on an Office Desk
- A Step-by-Step Method for Styling Paperweights on Office Desks
- Vintage Glass Paperweight Display Ideas for Every Desk Size
- How to Display Glass Collectibles Without Cluttering the Workspace
- Coordinating Color, Scale, and Shape with Your Desk Decor
- Vintage Paperweight Care and Cleaning on a Working Desk
- Choosing a Paperweight That Fits Your Desk and Your Story
- Frequently Asked Questions
Why Vintage Art Glass Paperweights Belong on an Office Desk
A paperweight on a working desk earns its place twice: it holds loose paper down and gives the eye somewhere to rest.
Most guides treat these pieces as shelf collectibles. A paperweight left in a cabinet does nothing.
Below, we show you how to place, arrange, and care for them, with a method you can finish in an afternoon.
A Step-by-Step Method for Styling Paperweights on Office Desks
Most desks fail at styling because everything sits in a straight line. This three-step method fixes that in about 20 minutes.
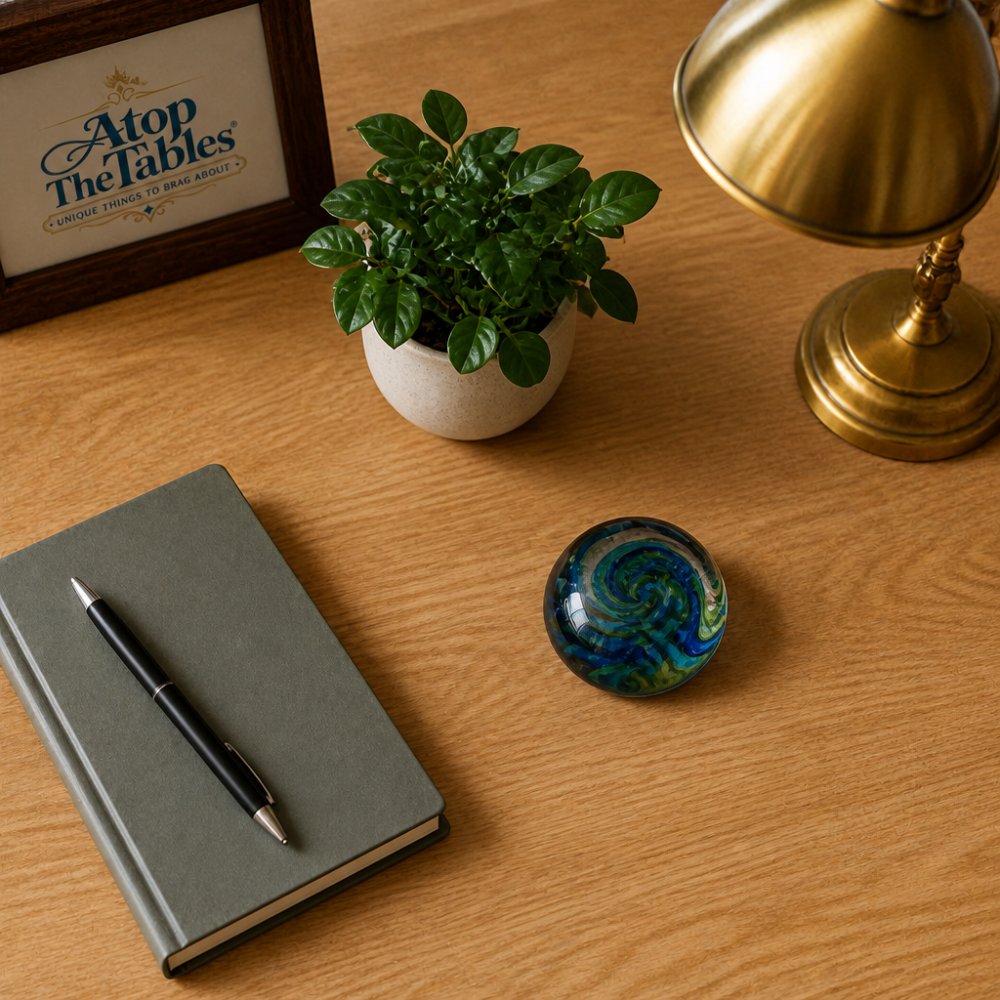
Step 1: Clear and Measure the Desk Surface
Start with an empty desk. Wipe it down and note the usable depth from the front edge to the monitor base. A desk under 24 inches deep needs small pieces only. Anything wider gives you room for a larger anchor.
Mark the zone where your hands work. Nothing decorative goes there.
Step 2: Choose One Anchor Piece and Two Supporting Objects
Pick one paperweight as the anchor: the heaviest and most colorful piece you own, since it sets the tone for the corner.
Then choose two supporting objects: a small plant, a pen cup, a stone coaster, or a second, smaller weight. Three objects is the limit.
Step 3: Place, Step Back, and Adjust the Triangle
Set the anchor slightly off-center. Place the two supporting objects to form a triangle with it, not a row. Step back three feet and look.
If the group looks flat, slide one object forward. If it looks crowded, remove one.
| Step | Time | What You Need | What Success Looks Like |
|---|---|---|---|
| Clear and measure | 5 minutes | Cloth, tape measure | Empty surface, known depth |
| Choose pieces | 10 minutes | One anchor, two supports | Three objects, no more |
| Place and adjust | 5 minutes | Nothing else | A triangle, visible from your chair |
Vintage Glass Paperweight Display Ideas for Every Desk Size
Desk size decides the display. Measure the desk, find the sightline, then choose the piece that fits both.
Start with two measurements: usable depth from the front edge to the monitor base or keyboard tray, and clear width on the side of the desk you do not use for your mouse hand.
The one-third rule for proportion
A decorative object reads as intentional when it is roughly one-third the height of the tallest thing near it.
Apply the same logic to width: the anchor should not exceed about one-quarter of the clear width of its zone, so a 12-inch side zone caps the piece at roughly 3 inches across.
Small desks, under 40 inches wide
- One paperweight only, placed at the back corner opposite your mouse hand
- Choose a tall, narrow form over a wide dome so it adds height without eating depth
- Keep the piece within 3.5 inches across and 4 inches tall
A cut crystal pyramid at 3.5 inches tall gives height without eating desk depth.
Standard desks, 40 to 55 inches wide
- Anchor plus one supporting object, not three
- Place the group in the back third of the desk so it stays out of the working zone
- Keep the anchor within 4 inches across
At this size, one supporting object such as a small plant or a stone coaster does more work than a second paperweight. Two glass pieces close together merge visually; one glass piece and one matte object read as a deliberate pair.
Wide desks, 55 inches and up
- Anchor piece plus two supports
- Group them in one zone, never spread across the whole surface
- Leave at least 12 inches of clear space around the group
On a wide desk the temptation is to fill the space. Resist it. A single tight group at one end reads stronger than three small clusters spread edge to edge.
Corner desks
- Use the deep corner for the anchor
- Angle the piece so light hits the rounded surface
- Keep the group out of the swing path of your chair
Corner desks concentrate light in the corner, exactly where a swirl or faceted piece looks best. Cables tend to collect there, so clear that zone before placing anything.
Standing desks
Standing desks need extra care: anything loose will slide when the desk rises, so place weights toward the back edge and test the motion before you trust it. A flat base and low center of gravity is safer than a tall pyramid. Run the desk through its full height range once with the piece in place and check that no cable catches it.
Sightlines and glare
Sit in your chair and look straight ahead. The paperweight should sit below your eye line and outside the direct path between your eyes and the monitor. If the piece catches a window or lamp and throws a bright reflection onto the screen, move it a few inches to the side.
| Desk width | Pieces | Max anchor size | Clear space around group |
|---|---|---|---|
| Under 40 inches | 1 | 3.5 inches across, 4 inches tall | 6 inches |
| 40 to 55 inches | 2 | 4 inches across | 10 to 12 inches |
| 55 inches and up | 3 | 5 inches across | 12 inches |
| Corner | 1 to 3 | Fits the deep corner | Chair swing path clear |
| Standing | 1 to 2 | Flat base, low center | Back edge, tested through full height |
How to Display Glass Collectibles Without Cluttering the Workspace
Clutter is not about quantity. It is about objects with no relationship to each other.
Our rule: one display zone per desk. Everything decorative lives inside that zone.
Try these habits:
Art Glass Paperweight 4" Blue Green Swirl Bubbles Heavy Clear Glass Unsigned →
- Cap the desk at three decorative objects total
- Rotate pieces seasonally instead of adding more
- Store the rest and swap them in when you want a change
For more on arranging vintage pieces without overcrowding a room, this guide on how to style vintage home decor covers the wider principles.
A common mistake is buying a display stand or tray that is bigger than the group. The tray becomes the clutter.
Coordinating Color, Scale, and Shape with Your Desk Decor
Most styling advice stops at "pick a color you like." That is not useful when your desk already has a monitor, a lamp, a pen cup, a plant, and a notebook on it.
Here is a method you can run in about ten minutes, using only what is already on your desk.
Step 1: Inventory the colors already in the room
Look at the five largest objects in view: the desk surface, the wall behind it, the monitor bezel, the lamp, and the floor or rug. Note each dominant color in plain words, such as warm oak, off-white, black, brass, and gray.
You now have a palette. A paperweight either contrasts with it or echoes it. Both work; the failure mode is a piece that sits between the two and matches nothing.
Step 2: Choose contrast or echo, not both
- Contrast: pick a weight whose color is opposite your dominant desk and wall tones. A blue-green swirl piece against a warm wood desk creates contrast. The same piece on a gray desk goes quiet.
- Echo: pull one color from something already in the room, such as a book spine, a plant pot, or the lamp shade, and repeat it in the glass.
A common pattern is to contrast against the desk and echo the wall, giving the piece a reason to be there from two directions at once.
Step 3: Match the finish to the nearby metal
Finish is the detail most people skip. If your lamp and pen cup are brass, a warm amber or gold-flecked weight sits comfortably beside them. If your hardware is brushed nickel or chrome, a cool clear crystal or blue piece reads cleaner.
Step 4: Build shape variety in threes
Shape needs variety. A rounded dome next to a rectangular monitor and a cylindrical pen cup gives the eye three different forms. Three round objects in a row look repetitive.
Use this checklist for any group of three:
- One rounded form (the paperweight dome or swirl)
- One rectilinear form (monitor, notebook, or tray edge)
- One vertical form (lamp stem, pen cup, or plant)
If two of your three objects share a shape, swap one. This single rule fixes most flat-looking desk groups.
Step 5: Check scale against the monitor, not the desk
The monitor is the tallest object on almost every desk, so it sets the scale. The anchor should be roughly one-third the height of your monitor stand, measured from the desk surface to the bottom of the screen.
Keep the anchor narrower than the gap between your monitor base and the nearest desk edge, so the piece never looks wedged in.
Step 6: Place it against a visual line
Anchor the group to one visual line, such as the front edge of the monitor, the edge of a desk mat, or the line where the wall meets the desk. A piece that lines up with something reads as placed; one floating in open space reads as left there.
Pairing with common desk objects
- Lamp: place the weight on the same side as the lamp but forward of the base, so the light passes over the glass rather than through it into your eyes.
- Plant: a small plant and a glass weight are the strongest two-object pair on a desk because one is matte and organic and the other is glossy and geometric. Keep 3 to 4 inches between them.
- Stationery: a pen cup is vertical and usually dark; a glass weight beside it adds color without adding height.
If you are blending old pieces with newer office furniture, our guide to mixing vintage and modern walks through the same color and scale decisions in more depth.
Vintage Paperweight Care and Cleaning on a Working Desk
Dust is the main enemy, and a desk generates plenty of it.
Sunlight matters too. A desk beside a window looks great until the glass acts as a lens. Move pieces out of direct afternoon sun.
Choosing a Paperweight That Fits Your Desk and Your Story
The best piece is the one you will actually look at.
That last question separates a paperweight from a trinket.
Buy one good piece rather than three forgettable ones. You can always add later.
Most desks end up with a monitor, a mug, and nothing else.
Frequently Asked Questions
How do you keep a glass paperweight from looking cluttered on a desk?
Limit the arrangement to one anchor paperweight and two supporting objects, such as a small plant and a pen cup. Keep a clear zone of at least 6 inches around the piece so it reads as a deliberate accent rather than a pile. On smaller desks, choose a single paperweight under 3 inches wide and skip extra objects entirely. Rotating pieces seasonally also keeps the desk feeling fresh without adding more items to the surface.
Can a paperweight be both decorative and useful?
Yes. A substantial piece like the 4-inch blue green swirl art glass paperweight, which weighs nearly 3 pounds, holds loose papers, unopened mail, or reference notes in place while doubling as desk art. Lighter crystal pieces such as the Baccarat Number 1, at 6 ounces, work better as pure display accents. Match the weight to the job: heavier glass for holding documents, lighter crystal for visual sparkle near a monitor.
How do you clean a vintage glass paperweight?
Dust weekly with a dry microfiber cloth. For fingerprints, mix a drop of mild dish soap in a cup of lukewarm water, wipe with a soft cloth, and dry immediately with a second cloth to avoid water spots. Avoid hot water, which can crack vintage glass, and skip ammonia cleaners on any piece with a foil label, since they can lift the adhesive. Store pieces with original labels away from direct sun to protect the printing.
What should you look for when choosing a paperweight for a desk?
Check three things: size, condition, and stability. Measure your desk's free space first; Inspect the base for chips, since a flattened, satin-finished base sits steadier than a rounded one. Confirm any signatures or original labels, such as the Waterford foil sticker, because they support authenticity and add collector value.

